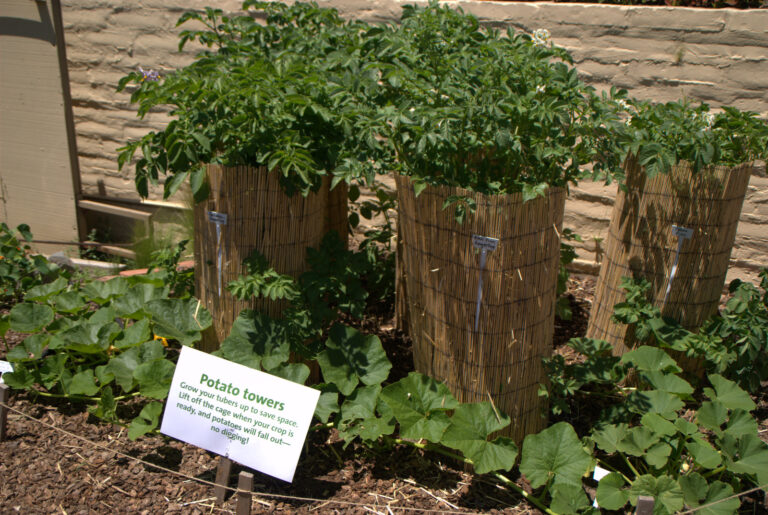
Growing potatoes vertically using a potato tower is an efficient method to maximize yields in limited spaces. This approach allows gardeners to cultivate multiple layers of potatoes within a compact area. Here’s a step-by-step guide to constructing your own potato tower:
Materials Needed:
-
Container or Structure: Options include a wire mesh cylinder, wooden box, or stacked tires. Ensure it’s at least 2–3 feet tall and wide enough for several layers of potatoes.
-
Soil: High-quality potting soil or compost rich in organic matter.
-
Seed Potatoes: Certified disease-free seed potatoes.
-
Watering Equipment: Watering can or hose for consistent moisture.
-
Fertilizer (Optional): Balanced fertilizer to promote healthy growth.
Step-by-Step Construction:
-
Select a Location: Choose a sunny spot with at least 6–8 hours of sunlight daily and good drainage.
-
Prepare the Container:
-
For wire mesh cylinders or wooden boxes, line the bottom with newspaper or landscape fabric to prevent soil loss.
-
If using tires, stack them to the desired height.
-
-
Layering Potatoes and Soil:
-
Add 4–6 inches of soil to the bottom of the container.
-
Place seed potatoes evenly on the soil with eyes facing upward.
-
Cover with another layer of soil, leaving about 4 inches of space from the container’s rim.
-
Water thoroughly to moisten the soil.
-
-
Add Layers as Plants Grow:
-
When plants reach about 6 inches in height, add more soil, covering all but the top few inches of foliage.
-
Repeat this process until the container is full.
-
-
Maintenance:
-
Water regularly to keep the soil consistently moist but not waterlogged.
-
Monitor for pests or diseases and address as needed.
-
Optionally, apply balanced fertilizer to support growth.
-
-
Harvesting:
-
Potatoes are typically ready 10–12 weeks after planting.
-
When foliage yellows and dies back, carefully dig around the base to harvest.
-
Building a potato tower is a practical solution for gardeners with limited space, offering a bountiful harvest through vertical cultivation.
