Category

Uncategorized

Category

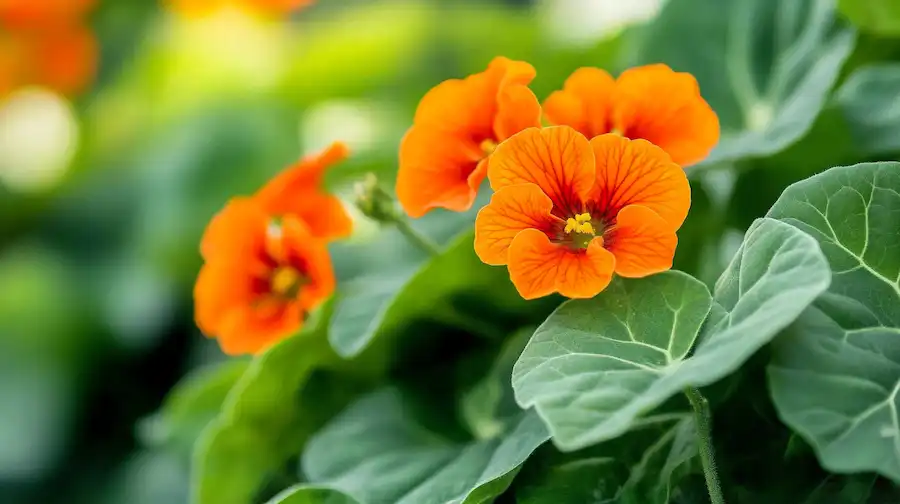
Nasturtiums are a gardener’s delight, offering a stunning display of bright orange, red, and yellow blossoms that not only enhance the visual appeal of any garden but also serve multiple functional purposes. These hardy annuals are celebrated for their ease of cultivation, pest-repelling properties, and culinary versatility, making them an indispensable addition to both ornamental and vegetable gardens.

Natural Pest Control

One of the standout features of nasturtiums is their ability to act as a natural pest deterrent. Emitting a peppery scent, they repel common garden pests such as aphids, cucumber beetles, and squash bugs. When planted alongside vegetables like tomatoes, cucumbers, and brassicas, nasturtiums serve as effective companion plants, protecting their neighbors from infestations and reducing the need for chemical pesticides.

Attracting Pollinators and Beneficial Insects

Beyond pest control, nasturtiums play a crucial role in attracting pollinators like bees and butterflies, as well as beneficial insects that prey on harmful pests. Their vibrant flowers serve as beacons, drawing these helpful creatures into the garden, which in turn enhances pollination rates and contributes to healthier, more productive plants.

Edible Delights

Nasturtiums are not just a feast for the eyes; they are also a flavorful addition to the kitchen. Both the leaves and flowers are edible, imparting a peppery zest reminiscent of watercress. Incorporating nasturtium leaves and blossoms into salads, garnishes, or even as components in herbal vinegars adds both visual appeal and a spicy kick to culinary creations.

Nutritional and Medicinal Benefits

Rich in vitamin C, nasturtiums can contribute to a healthy diet and support the immune system. Historically, they have been utilized in herbal medicine for their antibacterial and expectorant properties, aiding in respiratory health and wound care. However, it’s advisable to consult with a healthcare professional before using nasturtiums for medicinal purposes.

Cultivation Tips

Growing nasturtiums is straightforward, making them ideal for gardeners of all experience levels. They thrive in well-drained soil and prefer full sun but can tolerate partial shade. Sow seeds directly into the ground after the last frost, spacing them about 10 to 12 inches apart. Nasturtiums are notably resilient, often flourishing in poorer soils where other plants might struggle, and their trailing or bushy varieties can be used to adorn trellises, fences, or as ground cover.

By integrating nasturtiums into your garden, you not only enhance its aesthetic charm but also promote a healthier, more balanced ecosystem. Their multifaceted benefits—from natural pest control to culinary uses—underscore why nasturtiums truly are the stunning and functional backyard plant every garden needs.

Transform your garden’s vitality with a simple, eco-friendly trick: hanging an overripe banana among your plants. This method offers multiple benefits, from attracting essential pollinators to enriching the soil.

Why Hang an Overripe Banana?

  1. Attracts Beneficial Pollinators: The sweet scent of an overripe banana lures butterflies, bees, and other pollinators, enhancing the pollination of your flowers and vegetables.

  2. Enriches Soil Nutrients: As the banana decomposes, it releases vital nutrients like potassium and phosphorus into the soil, promoting robust plant growth.

  3. Natural Pest Management: By attracting beneficial insects such as ladybugs, which prey on common pests like aphids, the banana aids in naturally controlling pest populations.

How to Hang an Overripe Banana:

  • Select the Banana: Choose an overripe banana with a strong aroma.

  • Prepare for Hanging: Place the banana in a mesh bag or tie a string around its stem.

  • Choose the Location: Hang it from a tree branch or a garden stake, ensuring it’s accessible to pollinators but away from high-traffic areas

  • Monitor and Replace: Check periodically, and replace the banana once it’s fully decomposed or if unwanted pests are attracted.

This straightforward practice not only recycles kitchen waste but also fosters a thriving garden ecosystem.

Growing peanuts at home is a rewarding and sustainable way to enjoy fresh produce. By utilizing recycled plastic containers, you can cultivate peanuts even in limited spaces. Here’s a step-by-step guide to get you started:​

Materials Needed:

  • Recycled plastic containers (minimum 12 inches deep) with drainage holes

  • Raw peanut seeds (preferably from a garden center)

  • High-quality potting mix

  • Organic compost

  • Perlite or vermiculite (for improved drainage)

  • Watering can or hose with a gentle spray

  • Balanced NPK fertilizer

  • Mulch (such as straw or leaves)

  • A location that receives full sunlight

Step-by-Step Guide:

  1. Selecting the Right Containers: Choose recycled plastic containers that are at least 12 inches deep to accommodate the peanut plants’ root systems. Ensure the containers have drainage holes to prevent waterlogging.

  2. Preparing the Potting Mix: Create a well-draining soil mixture by combining equal parts potting mix, organic compost, and perlite or vermiculite. This blend provides essential nutrients and proper aeration for healthy plant growth.

  3. Planting Peanut Seeds: Fill the containers halfway with the prepared potting mix. Plant the peanut seeds 1 to 2 inches deep and space them 4 to 6 inches apart. Cover the seeds with additional potting mix, leaving some space at the top of the container for watering.

  4. Watering: After planting, water the soil thoroughly to ensure even moisture distribution. Maintain consistent soil moisture, especially during flowering and pod development, but avoid overwatering to prevent root rot.

  5. Providing Sunlight: Place the containers in a location that receives at least 6 to 8 hours of direct sunlight daily. Peanuts thrive in warm, sunny conditions.

  6. Fertilization: Apply a balanced NPK fertilizer every 3 to 4 weeks during the growing season, following the manufacturer’s instructions. Avoid excessive nitrogen, as it can promote foliage growth over peanut production.

  7. Managing Growth: As the plants grow, they will produce yellow flowers that develop into pegs, which penetrate the soil to form peanuts. Gently mound additional soil around the base of the plants to support this process.

  8. Mulching: Apply a layer of mulch around the plants to retain soil moisture, suppress weeds, and regulate soil temperature.

  9. Harvesting: Peanuts are ready to harvest when the plants begin to yellow and the leaves dry out, typically 120 to 150 days after planting. Carefully dig up the plants and shake off excess soil. Allow the peanuts to dry in a warm, well-ventilated area for about two weeks before removing them from the shells.

  10. Storing and Enjoying: Once dried, store the peanuts in a cool, dry place in airtight containers. Roast or boil them before consuming for optimal flavor.

By following these steps, you can successfully grow peanuts at home using recycled plastic containers, contributing to sustainability while enjoying fresh, homegrown produce.

Facebook Captions:

  1. Ever thought about growing your own peanuts at home? With just a recycled plastic container and a few simple steps, you can enjoy fresh peanuts straight from your garden!

  2. Transform your balcony or patio into a mini peanut farm using recycled materials. It’s easier than you think!

  3. No backyard? No problem! Learn how to cultivate peanuts in recycled plastic containers and enjoy a sustainable snack.

  4. From planting to harvesting, discover the joy of growing peanuts at home with our beginner-friendly guide.

  5. Turn everyday plastic waste into a productive peanut-growing container. Start your sustainable gardening journey today!